Using Documents page in D4Web
 Here we will cover the different options for document viewing, uploading/ downloading, emailing, scanning & editing folders
Where to find the Documents page
Click the navigation menu > Patients > Documents page
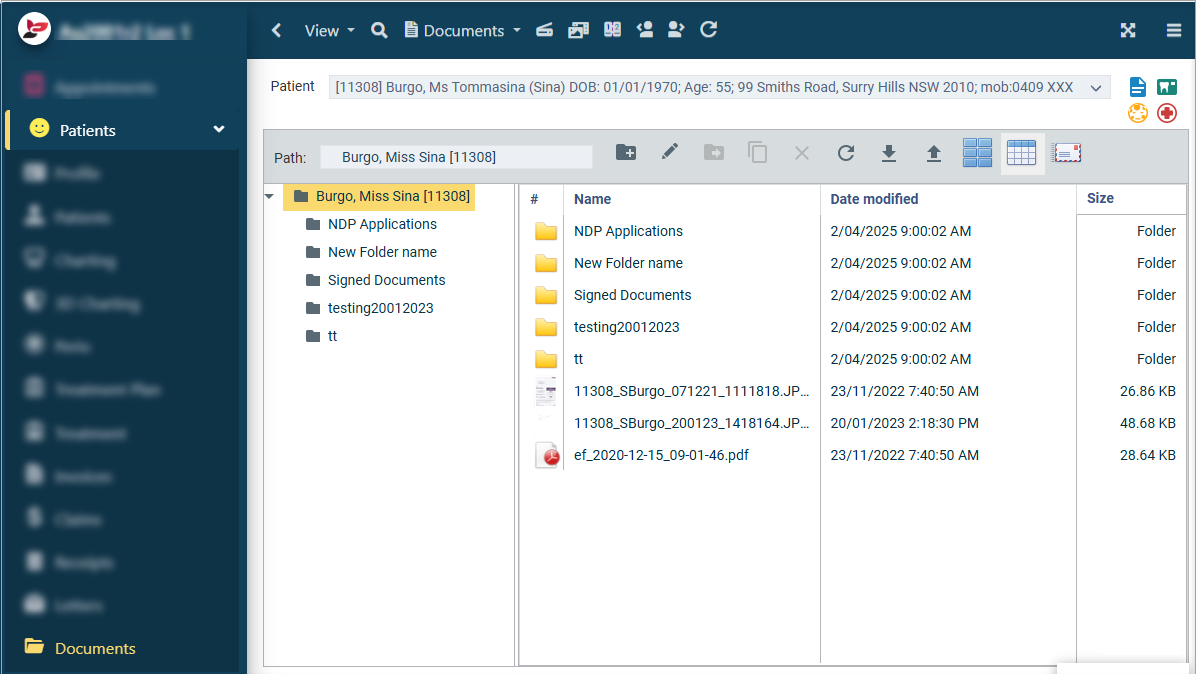
View Options in Documents
The following options are not only available when viewing Documents from Documents page but also from Charting, 3D Charting and/or Perio pages.
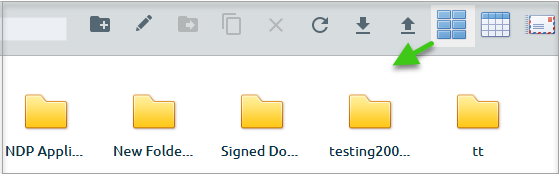
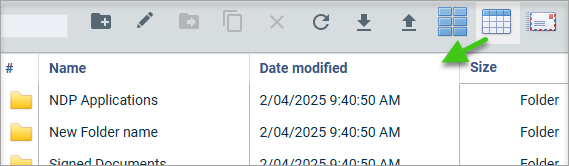
Select the preferred method:
Thumbnails:
Details:
Download a file from Documents
Files and Folders can be downloaded from D4Web Documents page.
- Select the file to download
- Icon toolbar > click Download icon
Upload a File to Documents
Files can be uploaded into D4Web Documents.
- Icon toolbar > click Upload icon
- Find and select the file from the files explorer
- Click Open
- The File or Folder selected is now in the Documents page
Move a Document to another Folder
To move a document to another folder:
- Highlight the document in question
- Click Move Icon
- Select Destination Folder
- Click OK
E-mail from Documents page
Its possible to send a file or folder from Document Manager via e-mail.

Ensure the e-mailing from a patients' file feature is setup before proceeding.
Use E-mail for Single Messages & E-mail sending service for Single Message (link to General Settings coming soon)
- Select the file/folder. (To select more than one, hold the Ctrl key and click additional files/folders)
- Click E-mail Icon
- In the E-mail window:
- From: Practice e-mail automatically enters
- To: Enter the recipient e-mail address; by default the patients' e-mail is entered
- CC: Include additional e-mail addresses if required
- Subject: The e-mail subject
- Attached: The selected file/s
- Enter any other text to appear on the e-mail
- Click SEND
Scanning to Documents
- Documents toolbar > Capture from Scanner
- Or click Scanner icon
Select the properties of the image in the Capture from Scanner window
- Click SCAN
- Once scanning is complete, the image/document will be automatically named and saved in the folder
- You are able to right click on the file name and select the following options:
- Rename: Give the file another name
- Move: Move document to another folder
- Delete: Remove the file from the Document Manager