PatientCare Setup & Manage
After Care check ins, chats & post-op instructions, allowing user experience feedback, comments, google reviews.
User Experience Presentation
See link below to the PowerPoint presentation summary of the user experience from Surgery to Patient.
Launch & Login
Launch the PatientCare communications
Once training is complete and you are ready to commence, the trainer will 'LAUNCH COMMUNICATIONS'.
Upon confirming the automation of the communications using PatientCare, you can navigate to the 'Visits' tab to see all of the upcoming communications that have been scheduled according to your Diary.
Logging in for the first time
Creating your account is the first step to getting started.
Step by step guide
- The first thing you will receive from Centaur is a Create Your Account Email with a link to set up your password.
- The email sender will be patientcare@centaursoftware.com
please check your Spam folder if you don't see email in your inbox.
- Your username will simply be the email address that this email was sent to.
- When you click the Complete account setup button, you will be brought to another webpage and you will be prompted to create a password
- please keep in mind the password requirements laid out above the password fields!
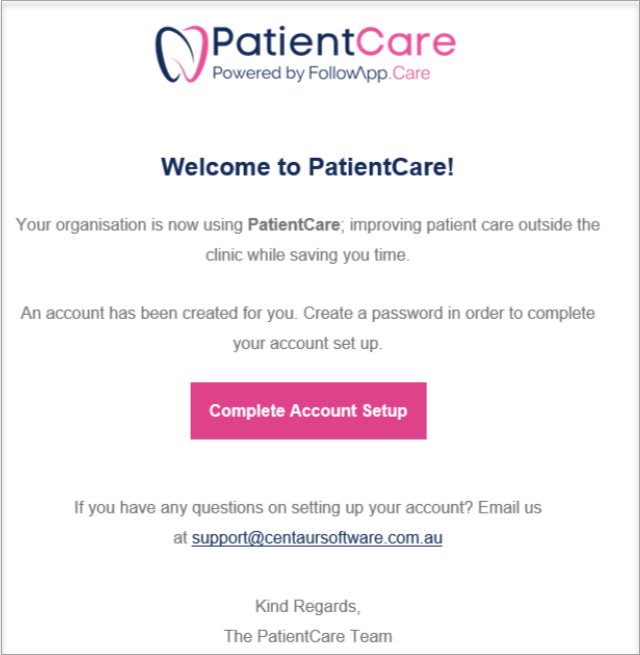
- When you’ve decided on a password, click on Update.
- If your password is accepted,
- Click Go to Login Page
- Clicking that button will take you to the platform sign-in page (TIP: Bookmark this page before logging in for easy access later on!).
- Enter your email address and click Next
- Enter your password and click Sign in
Note: The ‘Complete account setup’ link expires after 30 days of being sent.
To receive a new invite you can ask a member of your organisation to Resend you a Welcome Email or contact Centaur for PatientCare support.
Resend Welcome Email
You can resend the email invite to create a PatientCare account to other members of your organisation
An email invite is sent to create a PatientCare account. The invite provides a link to set-up a password, this link expires after 30 days.
You can resend the invite to members of your organisation directly from the platform
- Click the navigation menu > Settings > Manage Members tab.
- Find the member in question by searching by name or ID.
- On the right side of the screen, the member's profile displays a blue button "Resend Welcome Email", when the user hasn't set-up an account yet.
- When clicking on the button an email is sent to the user from patientcare@centaursoftware.com. Check Spam folder if email is not in regular inbox.
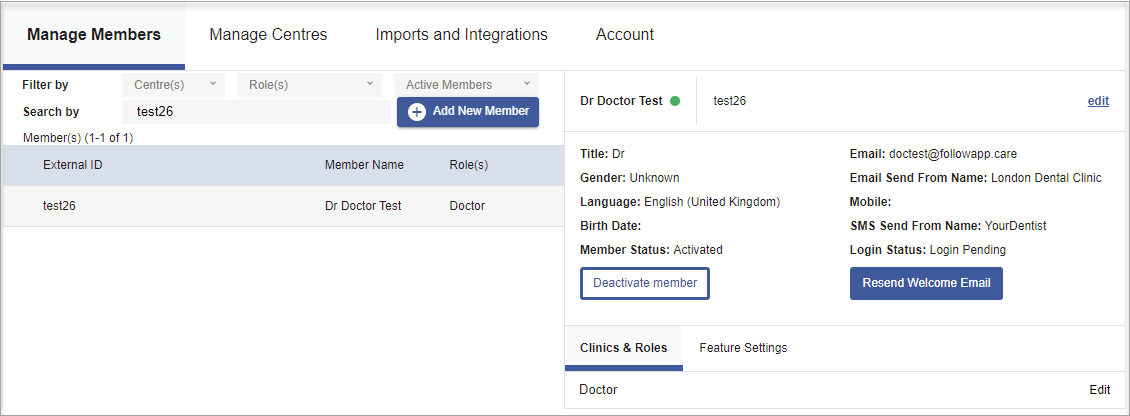
Note: if the Login Status is "Login Enabled", there won't be a Resend Welcome Email button, as an account has already been created. The user can reset their password via the main login page.
Roles: Permissions & Access levels
Organisation Manager
(access to all centres within the organisation)
- Alerts - See & action alerts (resolve, chat)
- Patients - See all patient profiles
- Visits - See all visits
- Content - some edit availability (messages send time & content of text messages). Toggle messages on/off
- Analytics - see information for all centres, all practitioners
- Settings:
- Manage members: add members, edit members, deactivate/activate members
- Manage centers: add centers, edit centres, deactivate/activate centres
- See import results
- Will receive - email notification of alerts, monthly email.
Centre Manager
(can have access to 1 or multiple centres. Only sees information for those selected centres)
- Alerts -See & action alerts (resolve, chat)
- Patients - See all patient profiles
- Visits - See all visits
- Content – read only
- Analytics - see information for all centers, all practitioners
- Settings:
- Manage members: add members (but they cannot add Organisation Managers), edit members (except Org Managers), deactivate/activate members
- Manage centers: edit centres, deactivate/activate centres
- See import results
- Will receive - email notification of alerts, monthly email
Receptionist
(can have access to 1 or multiple centres. Only sees information for those selected centres)
- Alerts -See & action alerts (resolve, chat)
- Patients - See all patient profiles
- Visits - See all visits
- Content – read only
- Analytics - see information for all centers, all practitioners
- Settings:
- Manage members: edit members (except Org Managers), deactivate/activate members
- Manage centers: edit centers, deactivate/activate centers
- Will receive - email notification of alerts
Doctor
- Alerts -See & action alerts (resolve, chat), only for those patients they have treated
- Patients - See all patient profiles, only for those patients they have treated
- Visits - See all visits, only for those patients they have treated
- Content – read only
- Analytics - *currently not enabled for Doctors, coming soon.
- Settings:
- Manage members: can only edit own profile
- Manage centers: read only
- Will receive – monthly email (when email address available on member profile)
PatientCare Support
Reset your password
If you’ve forgotten your password for PatientCare, we will show you the process to creating a new password.
- On the login page, click the Forgot your password? link
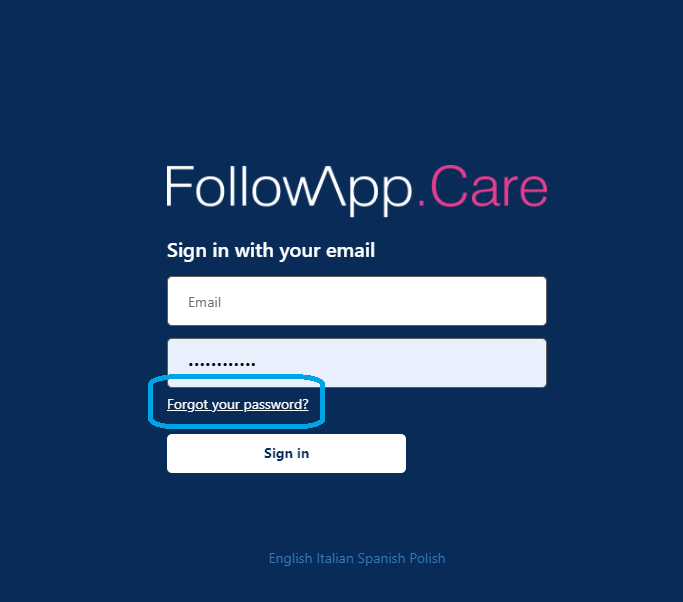
- Enter your email address in the field on the following page
- Click Send verification code
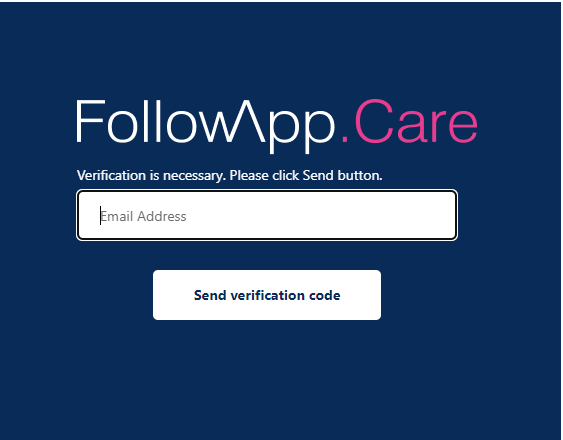
- You’ll be redirected to the page confirming that the link to reset your password has been sent.
- Go to your inbox. If you do not see an email in your inbox, check your junk folder. If you still don’t see it, you can press the ‘Send Link Again’ button (TIP: if you receive multiple ‘Forgot Password’ emails in your inbox, only the most recent of those will still be valid)
- Click on the email, and press the ‘Reset’ button
- When you’ve decided on a password, click on ‘Reset’
- If your password is accepted, you will see a button appear that says ‘Go to Login Page’
- Clicking that button will take you to the platform sign-in page
- Enter your email address and click ‘Next’
- Enter your password and click ‘Sign in’

If you can’t find what you need here in a PatientCare Article?
Related Articles
Dental4Windows Recommended Setup for New Customers
Below are instructions on Dental4Windows/Practice Studio Recommended Setup for New Customers. Dental4Windows/PracticeStudio Recommended Setup for New Customers Balance of Account If transferring from another system, enter the outstanding balances so ...
Setup & Manage Laboratories in Dental4Windows
Listed below are instructions on how to add a new laboratory, add new lab staff, setup lab fees and add or remove lab stages. Feature Flash Video: Labs Module Setup Add a New Laboratory Category of Work Laboratory Categories of Work are the type of ...
Setup & Manage Appointment Status Features in Dental4Windows
Listed below is how to Add a new appointment status, setup for N status to appear automatically, setup UTA, FTA and closing book status and automatic eForm status. Feature Flash Video: Appointment Status Setup Appointment Status Setup Appointment ...
PatientCare Using the Portal
Within the Patientcare portal, a user is able to Resolve Alerts, chat to patients, add notes, resend emails, unsubscribe from future communication, download appointment summaries and edit message content Managing Patient Responses Resolving an Alert ...
Setup & Manage Fees in Dental4Web
Fees Levels are created, then can be edited, updated, for each locations (if using multi location). Multiple fee levels can be created for practices charging different amounts depending on patients connection to Schemes, Insurances, Concessions etc. ...


