Setup & Manage Letter Category & Templates in Dental4Web

The Letters page is design to create and hold all Labels and Envelopes & letters written for the patient, from Case Presentations, Post Op instructions to Work Certificates.
To make the long list of options available the letters feature is broken into: Letter Category - Templates within - Patient letters
Where is the Letters page Found
Click the navigation menu > Patients > Letters page
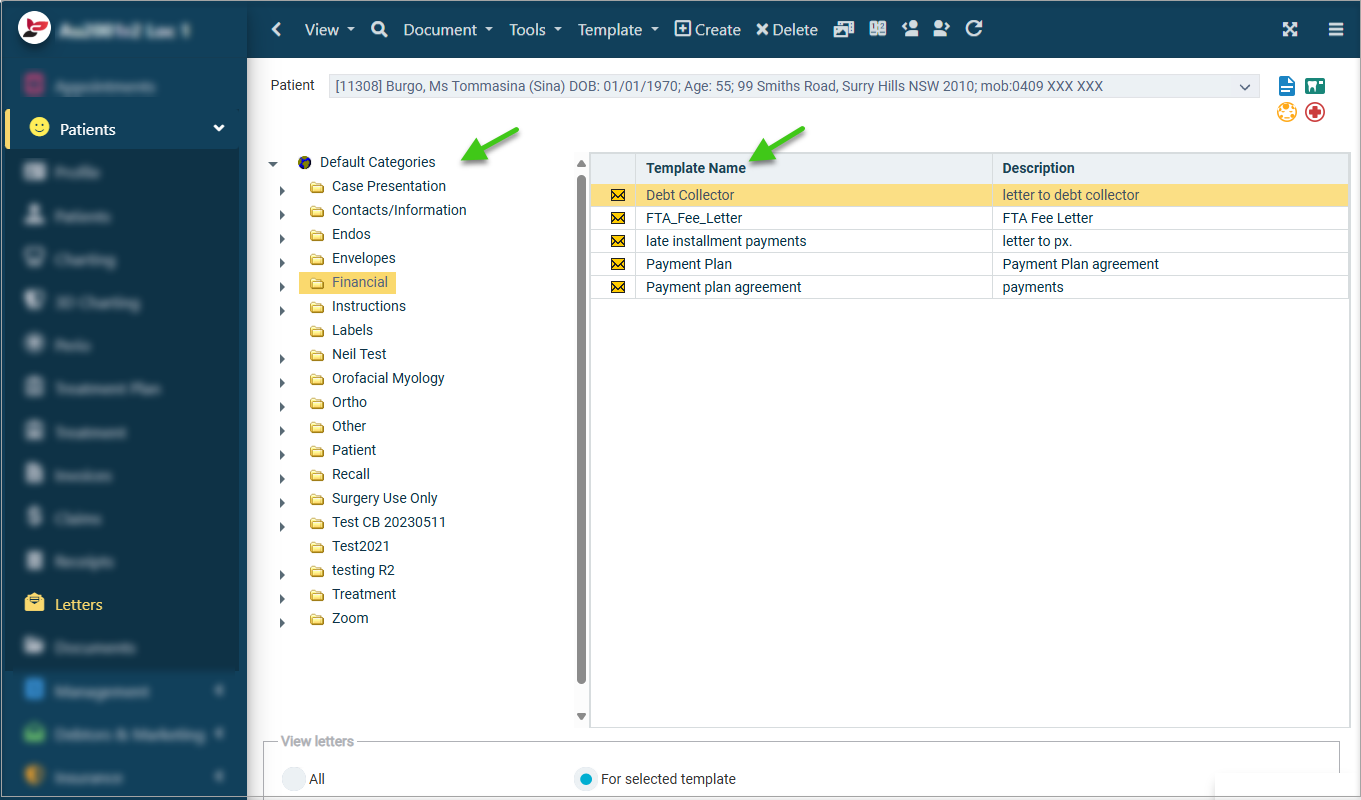
Letter Category
Create a New Letter Category
Letter categories allow the user to group templates & letters to make it simpler to find when required.
Default categories exist within D4Web, however the user can add more, suitable to their practice needs.
- Template Toolbar > Add New Category
- Specify Category Name: Enter the new category name
- Specify Category Description: Enter a description of the new category
- Select locations where this template will be available at (if applicable):
- Show at All Locations: Use to allow all locations access to this category
- Show at Selected Locations:
- Select in Not Available > click ADD SELECTED to Available
- Click OK
Rename a Letter Category / Change Category Location
Letter categories can be renamed and moved between locations.
- Highlight the category
- Template toolbar > Rename Category/Change Category Locations
- To Rename, the following sections can be edited:
- Specify Category Name
- Specify Category Description
- To change category locations, the following sections can be edited:
- Show at All Locations
- Show at Selected Locations
- Move from Available > Not Available and vice versa
- Click OK
Delete a Letter Category
A letter category can only be deleted if no templates are linked to it
- Highlight the category
- Template toolbar > Delete Selected Category
- Select Yes to proceed with the deletion
Letter Templates
Create a New Letter Template
Letter templates can be created under ANY patient file and be available for all patients.
- Highlight the Category to add the template to e.g. Instructions, Case Presentation
- Template toolbar > Create Template
- Specify template name: Type template name e.g. How to Brush
- Specify template description: Type the template description e.g. Brushing Instructions
- Select locations where this template will be available at (if applicable):
- Show at All Locations: Use to allow all locations access to this category
- Show at Selected Locations: Select in Not Available > Add Selected to Available
- Click OK
- A blank template will show onscreen ready to design using freehand text, importing images and placing input fields in relevant places
- Mail Merge tab > Add Field
- Select the Fields available in the list to the Template
- Click OK
Rename a Letter Template / Change Template Location
- Select the Category (left of screen) the template is saved within
- Select the template (Listed under category)
- Template Toolbar > Rename a template/Change Template Locations
- The following sections can be edited
- Specify template name
- Specify template description
- Show at All Locations
- Show at Selected Locations
- Move from Available > Not Available and vice versa
- Click OK
Delete a Letter Template
A letter template can only be deleted if the letter has not been produced for a patient. Alternatively, make the template inactive so it is no longer used.
- Select the Category (left of screen) where the template is saved in
- Select the template (listed under the category)
- If the template never been used, you are able to delete it:
- Template Toolbar > Delete Template
- Click YES
- If the template has been used, you are not able to delete it, but can mark it as inactive
Make a Letter Template Inactive / Active (reactivate)
Mark as Inactive
- Select the Category (left of screen) the template is saved within
- Select the template (listed under category)
- Go to Template toolbar > Mark Template as Inactive/Active
Reactivate Inactive
- Select the inactive template (listed under the category)
- Go to Template toolbar > Mark Template as Inactive/Active
Envelope Templates
This feature allows the set up of envelope templates in D4Web.
Ensure the printer being used is configured for printing envelopes.
- Highlight Envelopes category
- Template toolbar > Create Template
- Specify the Template Name and Description
- Click OK
- When the letter template opens, delete the default information before you insert the new input fields
- Ensure the margins are set to fit an envelope
- Next, Click Add Field
- Select required fields from the list (hold Ctrl key to select more than 1)
- Click OK
- Input fields are automatically inserted in a row, position the input fields on the envelope correctly
- Once you have inserted all the fields correctly in their positions, Select File > Save
- You can view the envelope template by selecting File > Print and adjust the position of the fields if desired
- Save the template before exiting if you have made adjustments
Create Letter for Patient

Related Articles
Dental4Windows Recommended Setup for New Customers
Below are instructions on Dental4Windows/Practice Studio Recommended Setup for New Customers. Dental4Windows/PracticeStudio Recommended Setup for New Customers Balance of Account If transferring from another system, enter the outstanding balances so ...Setup & Manage Letters in Dental4Windows
Listed below are instructions on Setting up envelopes, create a new letter category, rename a letter category / change category location, delete a letter category, create a new letter template, rename a letter template / change template location and ...Setup & Manage Appointment Book Templates in Dental4Windows
Listed below is how to Add a new Appointment Book, design a new or existing Appointment book template, setup Team Books, create fortnightly / alternating weeks or odd / even day sensitive appointment book templates, add pre-book slots to template, ...Setup & Manage Patients Mail Merge in Dental4Windows
Listed below is how to Setup patient registration SMS template and add unsubscribe option to templates. Setup Patient Registration SMS Template With the Automated Patient Upon Registration SMS activated (link coming soon), setup the SMS template. Go ...Setup & Manage Appointment SMS in Dental4Windows
Listed below is how to Setup manual Appointment reminder SMS/email, Appointments Scheduled SMS and Appointment Arrival SMS templates. Use Templates for Manual Appointment SMS / Email Notifications and Reminders The below setting must be activated to ...