Working in the Treatment Page (Admin features) in Dental4Web

The Treatment page is used for both clinical & admin purposes. The purpose of this article is for the administrative side of treatment and includes instructions for invoicing, payments & reprinting.
Links to the various other related features including the clinical sides of treatment is included throughout.
Where to Find the Treatment page
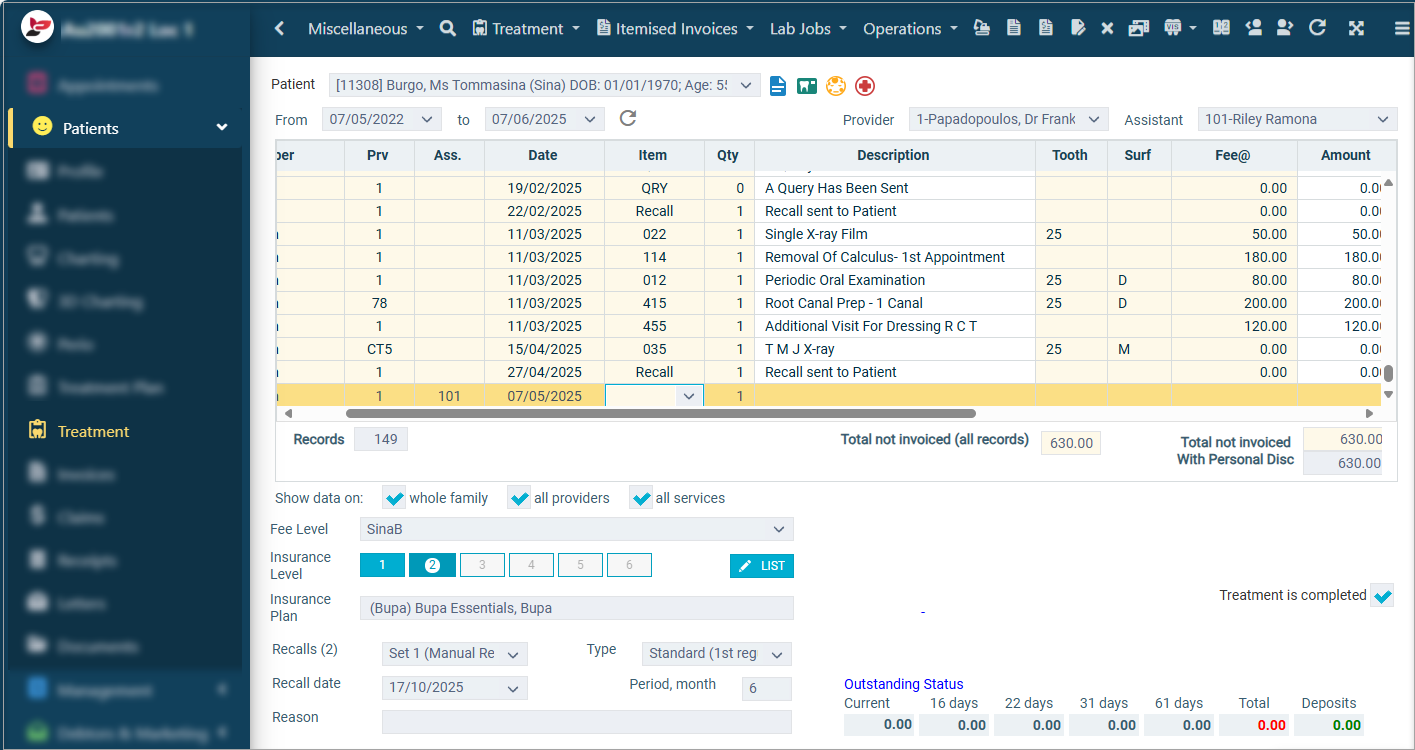
Click the navigation menu > Patients > Treatment page
Create an Invoice for Treatment Performed
Once treatment has been entered, an invoice can be created.
Create Invoice Only
- Itemised Invoices toolbar > Select New Invoice Only or icon
or shortcut F2
- Click CREATE or PRINT

Note: The default information within the 'Create Itemised Invoice' window is taken from the patient file. Any yellow field can be edited for this transaction

Manually Split Invoices per Provider
To manually only include select one Provider at a time when processing an invoice, deselect the provider at during the invoice creation.
Alternatively, this can be set to " Automatically breakdown invoice into separate providers" whenever there are two Providers. See General Setting- Itemised Invoices toolbar > New Invoice Only / Press F2 key / Click New Invoice icon
- In the background, deselect the second Provider
Create Invoice and Receipt
- Itemised Invoices toolbar > Select New Invoice and Receipt or
icon or shortcut F3 key
- Enter the receipt amount and select the Payment Method
Allocate an existing deposit to an Invoice
If a patient's record has had Deposits created, these can be allocated to outstanding invoices.
- Enter the Patient's Treatment
- Itemised Invoices toolbar > Select New Invoice and Receipt or
- Once in the Receipts screen, tick Autoallocate Deposits
- This will automatically apply the Deposits to any outstanding Invoices
- Click CREATE or PRINT
Pay a Balance of an outstanding invoice during Invoice of Other Treatment
The below instructions assume treatment items have been entered and are now ready for payment.
- Itemised Invoices toolbar > New Invoice and Receipt or click
icon or shortcut F3 Key
- Enter the Amount
- Select the Payment Type
- Ensure the amount is allocated to the correct balance. Remove tick from Autoallocate Payments, then enter the amount against the correct balance if not
- Click Create / Print
Creating Orthodontic Payment Plans
Create Treatment Plan
- Click the navigation menu > Patients > Treatment Plan page
- Enter item (e.g: 881 or 831 x 2) with full fee
- Enter items (e.g. 871) for each visit of Ortho Adjustment with $0.00 fee
- Order visits for the Treatment Plan so items can be easily allocated when making appointment (optional)
For instructions on how to order visits, click here
Create Payment Plan
- In the Treatment Plan page, select Itemised Invoices toolbar > New Invoice Only
- Click YES
- Create Itemised Invoice window
- Highlight all items in the Treatment plan
- Tick Show extended attributes
- Enter the Number of instalments, period of # and occurrence
- Change the $ amount to be paid today (1st visit) in the #1 instalment amount box (the rest will be auto calculated)
- Click CREATE
Complete Treatment and Allocate Payment
- Patients > Treatment page > Treatment toolbar >Transfer from Treatment Plans
- Highlight the completed item for current visit
- Click OK
- Patients > Receipts page > Receipts toolbar > New Receipt
- Enter instalment amount for the visit
- Select Payment Type
- Click CREATE
Re-Print an Invoice from the Treatment page
Once an invoice has been created, it can be previewed onscreen from the Treatment or Invoice page.
- Itemised Invoices toolbar > Print Invoice
- Select the invoice and click OK
or - Select the Invoice, tick the Show Invoice details box
- Select which items to include in the printout and if payments are to be included.
- Click OK
- In the preview, select Print, Save, Email options
Click here for 'Working in the Treatment Page (Clinical features) in D4Web' instructionsRelated Articles
Working in the Treatment Page (Clinical features) in Dental4Web
The Treatment page is used for both clinical & admin purposes. The purpose of this article is for the clinical side of treatment and includes instructions on Treatment plan transfer, Treatment completed, clinical notes (incl fast notes). Links to the ...New Zealand Dental Benefits Scheme in Dental4Web
The New Zealand Dental Benefits Scheme - Preset features, Adding & Editing, Generating Approvals & Claims Preset & Setup Features OHSA & SDSA Items OHSA & SDSA items are preset in D4Web Items page, there is nothing to do here. Click the navigation ...Working in the Treatment Tab (Clinical Features) in Dental4Windows
The Treatment page is used for both clinical & admin purposes. The purpose of this article is for the clinical side of treatment and includes instructions on Treatment plan transfer, Treatment completed, clinical notes (incl fast notes). Links to the ...Dental4Windows New Features Release Notes
The following new and enhanced features are available in: Build 6334 Limited Release From: 21/5/2026 RDS Users Release: TBC General Release: TBC Here is more information on how to search for a patients appointment and a family members appointments ...Working in the Treatment Tab (Admin Features) in Dental4Windows
The Treatment tab is used for both clinical & admin purposes. The purpose of this article is for the administrative side of treatment and includes instructions for invoicing, payments & reprinting. Links to the various other related features ...